Given the time frame (1 week, keeping in mind I work a full time job), I realistically couldn't do the cloak and the surcoat. After talking with the Captain about what he wanted, I decided to just do the surcoat for the birthday party, and work on the cloak throughout the winter. I'd rather not rush through the cloak, plus I'd like to use a good quality fabric. A full sized hooded cloak will take 7-8 yards of fabric for the outer layer and then again for the liner.
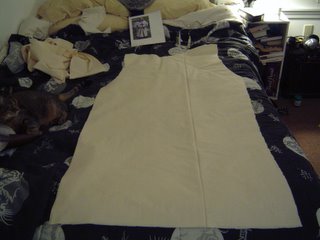
The Captain supplied me with a nice thick off white cotton for the surcoat The plan was to line the surcoat with the same fabric. Unfortunately, as large as the fabric was, after drafting the pattern, there was not enough for a liner. I made a quick trip to the local fabric store and picked up 3 yards of unbleached cotton muslin for a liner. Here Chupa supervises as I rough out the surcoat pattern.
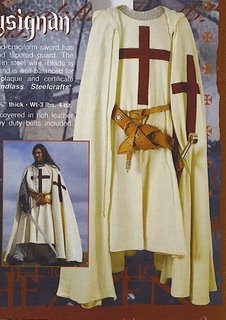
After cutting the pieces for the surcoat, the next task was to make the cross to be applied to the front. I searched on line and came up with a few images of what a templar cross should look like. Instead of the straight edges that Museum Replicas has, the ends of the templar cross are flanged. Since this cross is symetrical, I caould get away with making it in 2 pieces. I drew the cross freehand on a piece of dark red fabric and cut 4 pieces, 2 for the cross to go on the surcoat, and another 2 to for the cross on the cloak. Applying the cross was time comsuming and frustrating. I carefully floded over the edges and ironed them under. Then I pinned the cross pieces into position on the surcoat front and sewed around the edges of the cross. After all this, the cross is a bit crooked, not much, but enough for me to notice. Shhh...maybe Cap'n won't notice.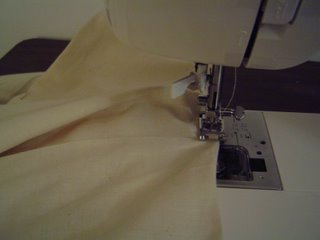
Sewing the 2 surcoat pieces together for both the outer layer and the liner was pretty easy. This is a very simple design. Next was to sew the liner into the outer layer. It took some time pinning everything into place, but was fairly uneventful. 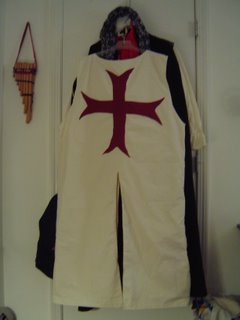
Now that the surcoat was nearly complete, I just needed to put the split in the front and back. I simply cut up the center of the surcoat, from the bottom to about wasit level. After that i just folded the outer layer and liner in on themselves and sewed into place. And I have a completed knight's surcoat. Now I just await the Captain to try it on.

My sewing machine glows with pride
No comments:
Post a Comment